Building a split keyboard (and why you might want to do it)
Published on 5/25/2025 · 14 min read
Why I Built My Own Split Keyboard
For years, I typed on Apple’s Magic Keyboard, and never questioned using another type of keyboard, until I came across split keyboards, randomly through a friend. Before that, I never got convinced by the ergonomic keyboards I ran into: they would usually feature a slight curve in their key layout and some wrist pads. It didn’t felt that different for regular keyboards, so I wiped them away as marketing junk. Yet seeing a keyboard truly split in two parts, along with column-staggered layout, I started digging into the world of ergonomics, a world much deeper than what I imagined, sustained by a quite enthusiastic community of makers. As someone who loves nerdy things, own a 3D printer and enjoys tinkering, building a split keyboard just became too appealing.
A huge amount of split keyboards have been designed over the years, and now there are even many shops selling pre-built ones or DIY kits. I built mine from scratch, mostly to save on costs, and also because I couldn’t find a model that was perfectly fitting what I had in mind. It’s worth stressing out that building a keyboard isn’t a complicated project. You need soldering, sure, but nothing that requires years of experience or an expensive soldering iron. Yet if you’re not a tinkerer, you’ll find your match among the pre-built options for sure. For instance, you can find some at:
- Mechboards
- Bastardkb
- Holykeebs
- ZSA or Moergo for high-end but pricey options
- on Etsy or Aliexpress too
I won’t lie, I ended up doing it mostly for the swag, yet it turned out to be also relieving for my typing comfort, but more on that later.
What to Consider When Choosing a Keyboard
Before diving into the details of my own build, let me share some considerations to help you choose the right keyboard for your needs. Everyone has there own preferences, so some of these aspects may be irrelevant to many of you. I’ll try to cover the main points to consider and give some example keyboards for each.
1. Ergonomics: Split, Layout, and Shape
- Layout & Number of Keys: this can be a hard choice. You need to ask yourself what your use cases are. For example, if you type only in English, you may not need dedicated keys for accents. If you do gaming, you may want to have a number row. If you’re a programmer, you’ll want easy access to symbols. With a high number of keys, your keyboard is more resilient to fit many use cases without overthinking the key mapping, yet it comes at the price of higher finger travel and a bulkier item. In short:
- If you don’t want to experiment with layers and prefer sticking to a familiar layout, keyboards like the ZSA Voyager, Lily58 or Sofle offer split designs with standard key counts.
- If you want to go minimalist and are ok with learning a new layout, keyboards like the Ferris Sweep or Corne are great options.
- Curved or Flat?: an interesting aspect of ergonomics is that keys can have a variable height and angle. This can further reduce finger travel and wrist strain. However, this usually takes a heavy toll on portability, price and build complexity. If you are interested in cureved keyboards, here are some options:
- Glove80 or Kinesis Advantage360: high-end and popular curved keyboards.
- Dactyl Manuform: a DIY favorite.
- Charybdis: available as a pre-built or DIY kit, with multiple key counts.
- Tenting (Adjustable Inclination): a popular way to reduce wrist strain in the community. There are plenty of accessories to tent your keyboard.
2. Budget: DIY vs. Pre-Built
- DIY keyboards are often far cheaper. If you are unsure about your abilities to build one, let me reassure you: most builds are beginner-friendly, and there are plenty of tutorials online. Soldering is usually required, but nothing too complicated. Just avoid curved keyboards or hand wired builds as a first project in that case.
- Some shops (e.g., Mechboard, SplitKB, Holykeebs, …) sell pre-soldered DIY kits at a slight premium, saving time without breaking the bank.
- If budget isn’t a constraint, the ZSA Voyager or Kinesis Advantage360 are solid options. Bastardkb also offers good quality assembled keyboards.
3. Switch Type: Feel and Flexibility
- Choc Low-Profile vs. Cherry MX: this is a matter of personal preference. Yet, it’s worth keeping in mind that you’ll have a far greater selection of switches and keycaps with Cherry MX builds, so if customisation matters to you, it makes a difference. On the other hand, choc switches are a bit more compact, which helps with portability.
- Hot-swappability: that’s the possibility to change switches on the fly, without de/re-soldering. Great if you want to experiment with different switch types.
4. Build Difficulty: Time vs. Reward
- Soldering Required? Most builds (like mine) need basic soldering. Thankfully, it’s beginner-friendly.
- RGB/Backlighting: It can be really nice, but it adds complexity (and cost). I skipped it because it wasn’t essential to me.
- No Tools? Opt for a pre-soldered PCB or a hot-swap kit to avoid soldering entirely.
5. Firmware & Programmability
- QMK/ZMK Compatibility is non-negotiable for me. These open-source firmware systems let you create custom layers, macros, and even wireless support (via ZMK).
- Pre-Built Convenience: If coding keymaps sounds daunting, pre-builts often include user-friendly configurators (e.g., ZSA’s Oryx). Coding might be utterly unnecessary if you pick a keyboard with enough keys for your needs (Sofle, Lily58, Glove80, …).
Why the Ferris Sweep Bling LP Won Me Over
I spent quite some time exploring many split keyboard setups to find the one I’d like to build. The r/ErgoMechKeyboards subreddit, as well as some data bases such as the YellowAfterLife were invaluable resources. Fortunately, I had rather specific criteria to narrow down my search. I wanted a keyboard that was:
-
Portable: therefore as compact and lightweight as possible, to easily fit in my backpack for travel and daily commutes. I move around a lot for my work, so that criterion was non-negotiable. It actually eliminated a lot of options: anything with more than 40 keys was too bulky for my taste. It also directed me towards low-profile switches, to keep the height down.
-
Column staggered: after reading many people’s experiences, I got convinced that reducing finger travel would pay off in terms of typing comfort. I therefore wanted to experiment with a column-staggered layout, which places keys in vertical columns aligned with finger lengths.
-
Low budget: this was my first build, I had no idea if I would actually enjoy using that keyboard, so I wanted to keep costs as small as possible. This went further than excluding high-end products such as the ZSA Voyager, it also prompted me to minimise the features to the essentials. I was ok starting with a wired build, with no RGB lighting and other options.
-
Easy to fix and customise: it wasn’t only the split part that was new to me. I never had a mechanical keyboard either, so even if I read a lot about switches, I had no idea which one would suit me. So I wanted the switches to be hot-swappable, in case I’d want to try different ones later on. I also wanted to be able to change the microcontrollers easily, so I would like an option to socket them. These two decisions really paid off, and at a very small expense: I ended up trying multiple switches in the following months, and I fried one of my controllers (because of a short-circuit, more on that later), so I was glad I didn’t have to rebuild the whole keyboard to replace it.
There were several options matching all these criteria. To be honest, much more than I expected, thanks to the amazing creativity of the community. In the end, I settled for the Ferris Sweep Bling LP, from David Barr based on the work from Pierre Chevalier. It ticked all the boxes. It was really on the minimalist side with its 34 keys, but I thought that it would be a good challenge to adopt it, and that low key count made it portable and cheap.
Bill of Materials & Cost
Ok, I ended up building two versions of the Ferris Sweep Bling LP: a wired home setup and a month or two later a Bluetooth travel companion. Below are the components for one build:
Core Components
- PCB: Ordered from JLCPCB using David Barr’s open-source design ($15–25 for 5 boards).
- Microcontrollers:
- Wired: 2x ProMicro RP2040 ($5 each).
- Wireless: 3x NRF52840 ($3 each; 2 for halves, 1 optional for USB dongle).
- Hotswap Sockets: 34x Choc hotswap sockets like these ($5/100).
- Switches: 34x choc v1 switches of your choice. You can get that for less than $20 on Aliexpress.
- Keycaps: 34x like these ($25/50).
- 2 power switches: 10 MSK-12C02 ($1.50/10).
- 2 reset switches: 10 B3U-1000P ($3.50/10).
Wired vs. Wireless Add-Ons
- Wired: TRRS jacks ($2/10) + cable ($2.50).
- Wireless: 2x LiPo batteries like these ($8 each; 3-month battery life).
Optional Upgrade
- Mill-Max Sockets and Pins ($11): for instance these pins with these sockets. Lets you swap controllers (e.g., wired → wireless) without rebuilding. (See tip below!)
Total Cost
The total costs ended up around:
- Wired Build: ≈ $100
- Wireless Build: ≈ $120
This leaves you with a 4 extra PCBs and quite a few spare parts, so future builds will be much cheaper.
Build Tips & Lessons Learned
-
Socketing Controllers:
- Use a breadboard + tape to align Mill-Max pins before soldering (see image below). A magnet helps collect stray pins.
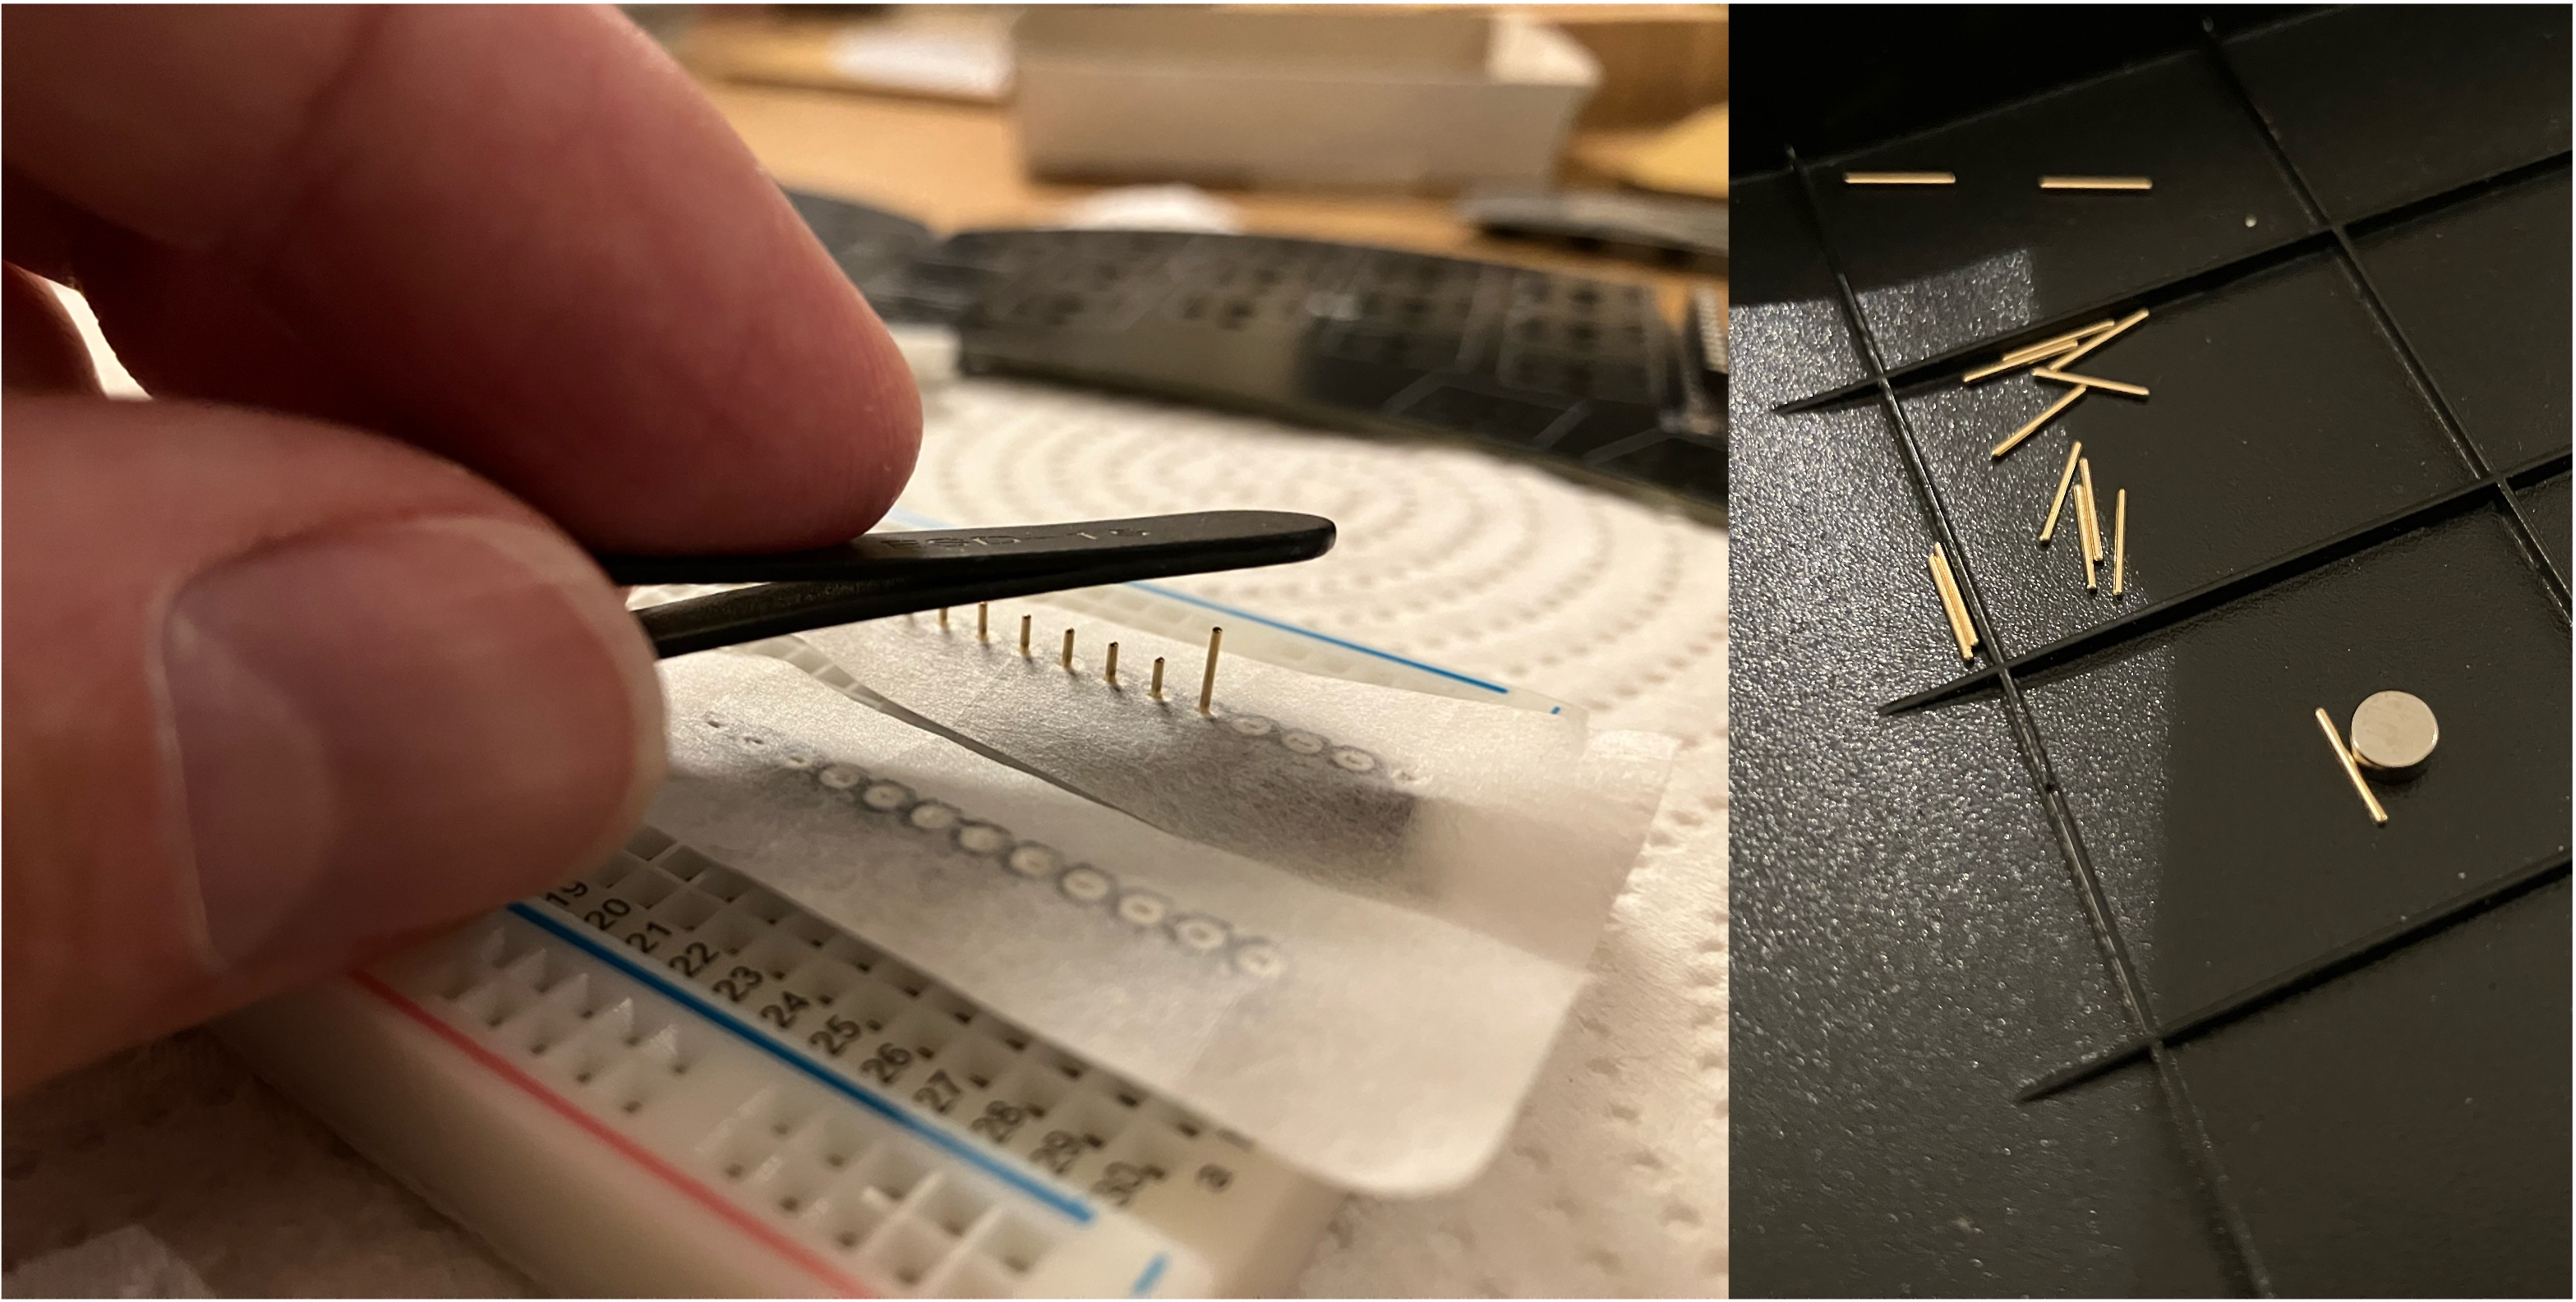
- Use a breadboard + tape to align Mill-Max pins before soldering (see image below). A magnet helps collect stray pins.
-
Wired or wireless?:
- I started with a wired build, then built another wireless one. The wired build is perfect for home use, while the wireless one is great for travel.
- One issue with many wired builds is that they use a TRRS cable to connect the two halves, which can unfortunately lead to a short if it is unplugged while the keyboard is powered on. That’s pretty unforgiving, I learned it the hard way by frying a controller… Another good reason to socket the controllers!
- For wireless builds, consider using a USB dongle. It significantly improves battery life.
-
Battery (if wireless build):
- ⚠️ Always tape one LiPo wire while soldering to avoid shorts. Store spares in a fireproof bag.
- Trying to raise the distance between the controller and the keyboard is a good idea to fit thicker, and therefore higher capacity, batteries. That’s another advantage of the Mill-Max sockets.
(For a full build guide, see Kyek’s YouTube tutorial.)
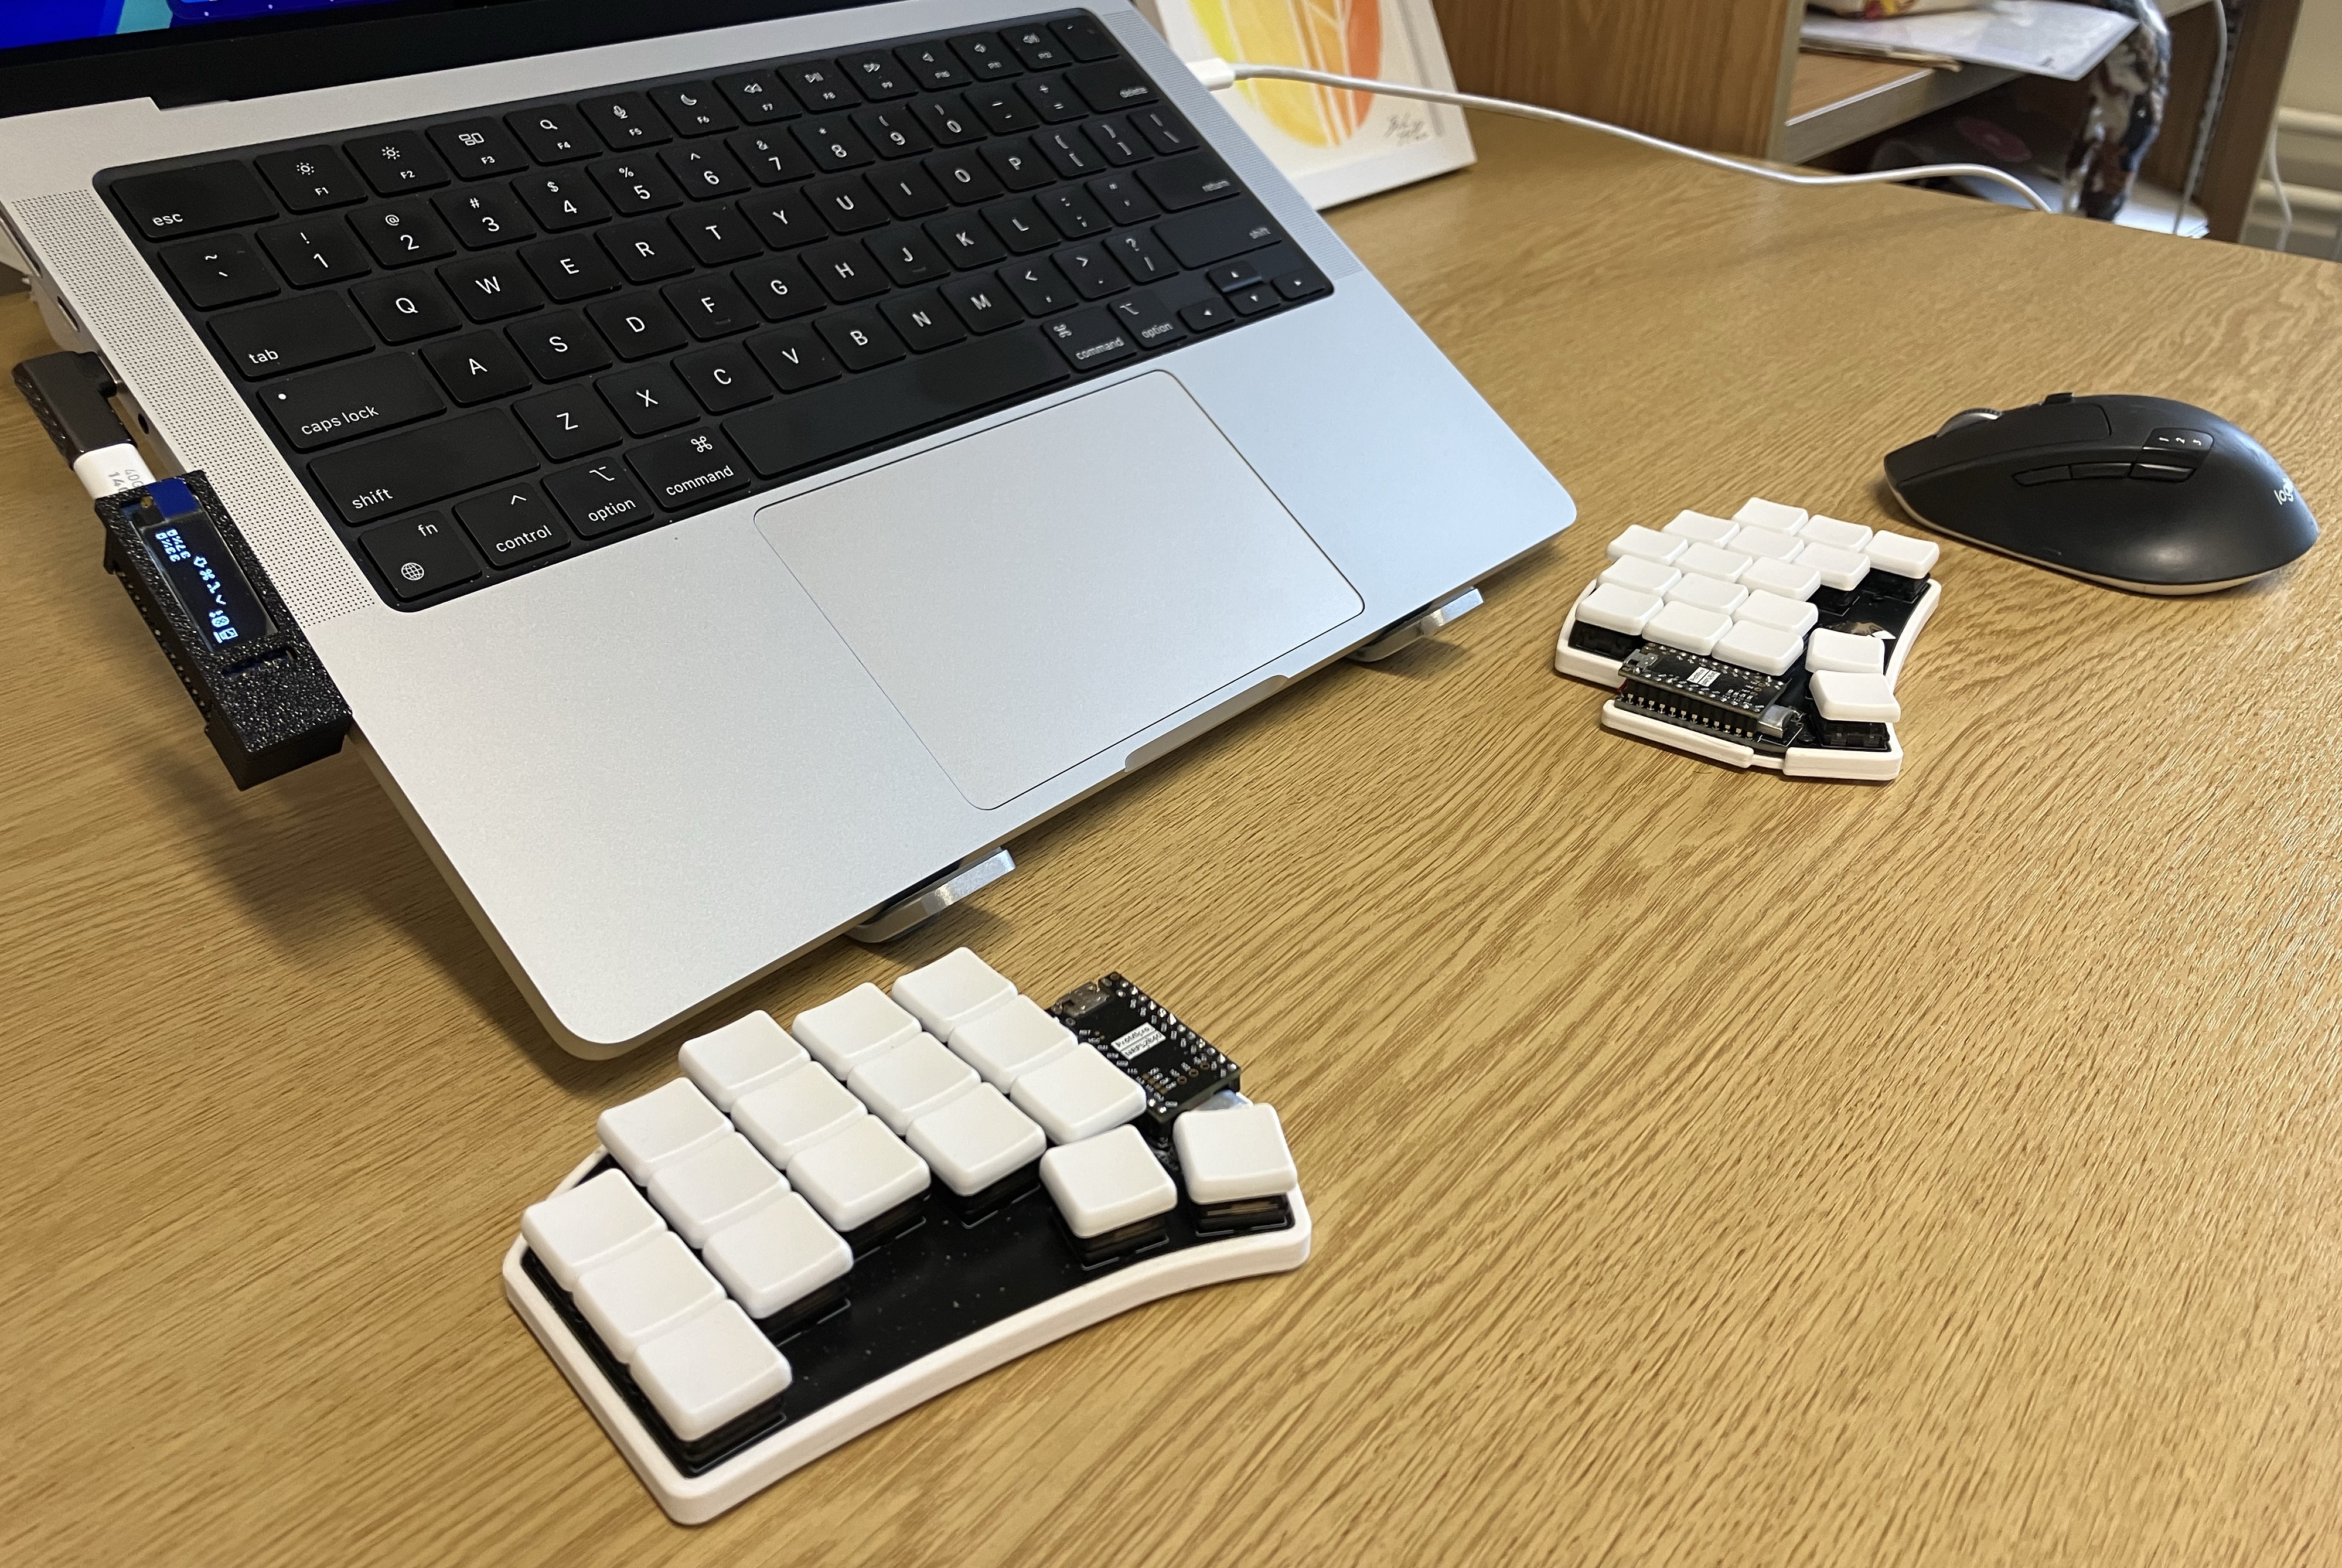
After One Year With the Ferris Sweep
Usage
After one year of daily use, I must admit I don’t regret my choice at all. Typing is genuinely more pleasant. Surprisingly, adapting to the 34-key layout directly from a standard Apple Magic Keyboard was fast, tweaking step by step my keymap to find my marks. Here is how my learning curve looked like:
- 1 week: Nearly back to my original typing speed (since only symbols/layers needed remapping). Yet to be fair, my typing speed wasn’t high to begin with (~60-80 WPM).
- 1 month: Fully fluent with home-row modifiers (
Shift,Ctrl, etc. under ASDF/JKL;). - 3 months: Added combos (e.g.,
J+KforEsc,E+RforTab,U+IforCaps Lock,Space+BackspaceforEnter, …) and tap-dance (double-tap thumbs to toggle layers, not only momentary activation on press).
If you are a fast typer, chances are it will take you longer to regain your speed. For me, it wasn’t about going faster at the first place, more about going longer. Definitely, I felt improvements in ergonomics: my posture is less cramped, my shoulder more relaxed. Wrist pads became essential though, because I got longer typing sessions, I started feeling some pain from pressing my hands on the desk for hours.
Along the way, another unexpected benefit emerged. I finally became a touch typist. You may laugh, but I never managed to learn it properly before, I would always glance at the keyboard at some point. The column-staggered 3x5 layout of the Ferris Sweep really minimise finger travel, so muscle memory is far easier to build. My keys aren’t even labelled anymore.
The current state of my keymap can be found here for QMK and here for ZMK. It is still evolving, but it may give you some ideas.
Shortcomings
Using such a minimalist keyboard obviously comes with tradeoffs. No deal breaker on my side, but worth mentioning:
- Thumb Keys: Two per side works, but a third (like on the Corne or Swoop keyboards) could be a nice addition for
Tab/EnterorShift. - Gaming: Home row modifiers doesn’t play nicely with gaming, and you may miss the top number rows. I don’t game much, so I got away with a crappy fourth layer for that, but a higher number of keys is a better fit for more than casual gaming.
- Accents: I didn’t spend the time yet to figure out a good way to type accented characters (I need them for French). It has not yet been a priority as I overwhelmingly type in English, yet I need to address that at some point. It is far from impossible, I still have room to map keys for that in my layers, but it isn’t straightforward.
Upgrades
Over the months, I did some upgrades to my builds, some of which I highly recommend:
- silent switches: I love the feel of mechanical keyboards, I think I just can’t go back. Yet, even the Kailh choc reds I started with felt too loud to me, even with a desk mat. No one wants to be that guy in the office or for your partner. So I broke the bank and got some LowProKB Ambient Twilight and later on Nocturnal switches. Surely not the cheapest switches out, but I can’t praise them enough. There’re really significantly quieter, while keeping a satisfying touch. Worth every penny.
- KLP Lame keycaps: not a groundbreaking upgrade, more something I wanted to try. It feels nice though, and improves typing comfort a little bit.
- 3D-Printed Case: definitely a superficial addition, but it just looks better. I printed this model but some of the aforementioned shops do sell cases.
- Travel Case: I designed two simple 3D-printed cases to carry the keyboard with me safely: a long but thin one and a smaller but thicker one.
- for wireless build, USB dongle: a huge improvement for battery life. Here as well, ready-made options exist, such as the prospector. I made my own based on an NRF52840 module and a small 128x32 OLED screen to monitor battery level. You can find the code here.
What Now ?
Although I’m happy with my two Ferris Sweep builds, I got the itch prompting me to try other things in the ergonomic keyboard world. I’m quite happy with the minimalism of the 3x5 layout, so I don’t intend to change that, but there are quite a few other aspects I’d like to explore. One of them is integrating some kind of tracking device (e.g., trackball or touchpad). As my keymap evolved, so did my keyboard usage patterns. I defined better shortcut for my window tiling manager, started using Vimium for browser navigation, and so my mouse usage decreased significantly. It’s not possible to fully get rid of it however, so embedding a pointing device in the keyboard would be a great way to further reduce hand movement. I’m therefore comtemplating building a Dilemma or try adding a trackpad module to my existing build.
I should also give another attempt at tenting. I tried some 3D-printed stands, but as a bulky hollow plastic object, it amplified the sound and vibrations of typing, which made it more annoying than comfortable. I have no excuses though: there are plenty of other solutions out there, many of them quite affordable, so most likely I’ll give it another go in the coming months.
I’m also considering trying a curved keyboard. I tried printing keycaps tilting supports to simulate a curved layout on my Ferris Sweep, and I liked the feeling. However, it made typing louder since the tilting supports hit the switches when pressing keys. I am quite interested in the Charybdis Nano, so I can try a curved layout while also getting familiar with trackball usage.